Exxus Goes A Long Way!

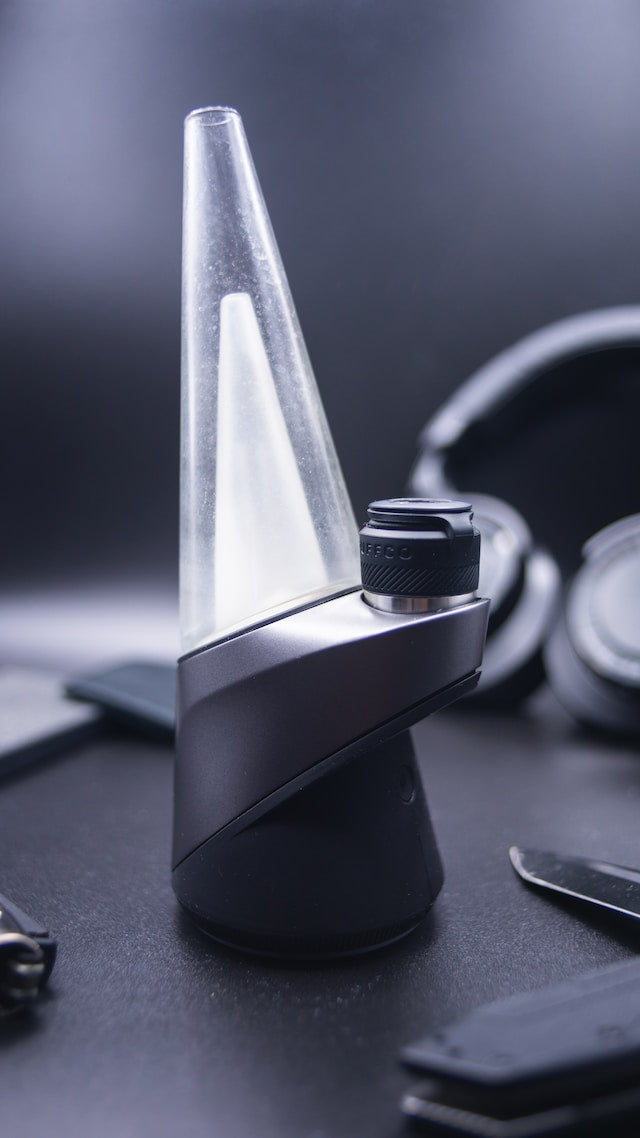
The GO Plus Vaporizer by Exxus Vape is an innovative and advanced device designed for wax concentrate enthusiasts. Its coil-less quartz tank offers a clean and smooth vaping experience, preserving the concentrate's flavor without any burnt taste.

The manual/auto mode allows you to choose between manual control or an automatic mode that adjusts performance based on the concentrates—allowing for a customizable vaping experience to suit individual preferences.
The wide range of temperature control options allows you to fine-tune your vaping experience, with precise temperature settings that can be adjusted to your desired level. The OLED display provides clear and easy-to-read information about the temperature, battery life, and other settings.

The GO Plus Vaporizer also features a magnetic attachment system, making it easy to assemble and disassemble the device for cleaning or maintenance. The glass carb cap and silicone tether are handy accessories that enhance the vaping experience.
The powerful 5200mAh battery ensures long-lasting sessions, and the Type-C cable allows for fast charging, minimizing downtime between sessions. The LED lights add a touch of style and functionality, indicating the device's status and battery life at a glance.

How To Turn On/Off:
First, ensure that the GO Plus device is fully charged before turning it on.
Then, press the power button on the GO Plus device rapidly five times to turn it on.
The screen will display the Exxus logo as an introduction. To turn off the GO Plus device, press the power button five times again.
How To Change The Temperature:
What’s impressive about the GO Plus is its wide temperature range. To change the temperature to your desired heat level, press the (+) button to increase by 1°F and the (-) button to decrease the temperature. Adjust the temperature to your liking!
You can also change the temperature scale from Fahrenheit to Celsius. Hold power and temperature buttons for two seconds to change the scale.

How To Start Your Sessions:
To start Manual Mode, you need to hold the power button and release it when you want to stop the heating.
To start Automatic Mode, you should press the power button twice continuously. The device will then begin preheating to your desired temperature.
To stop Automatic Mode, press the power button twice again.

How To Change Working Time Settings:
The OLED screen display visually shows the timer and the temperature. To change both settings, press (+) and (-) simultaneously for two seconds to adjust the working time. You can adapt your timer from 10 to 60 seconds.
How To Change Device To Your Preferred Settings:
When the coil-less quartz atomizer is connected to the GO Plus base, the device will automatically detect the heating chamber, and the concentrate button will appear on the screen.
The GO Plus allows you to turn the LED lights on and off—hold the power button and the (+) button for two seconds. You can also turn off the sounds by pressing the power button and the (-) for two seconds.
If you want to see your device's battery status, press the power button once. The battery icon will show the remaining lifespan.

How To Charge:
When you unbox the GO Plus, charge the base for three hours. After the first charge, do not charge the device for more than three hours, as this could ruin the battery or wear down the lifespan.
While charging, the LED screen will show the battery life meter. When it reaches four bars, the battery is fully complete.
How To Solve An Atomizer Issue:
When the atomizer has an error, the LED screen will display “Check Atomizer,” and the device will beep 3X. To solve this issue, screw on the coil-less quartz tank properly. Ensure that the attachment is not too tight or too loose.
How To Solve An Overheating Problem:
When the GO Plus is overheating, the LED screen will show “Protect,” and the device will beep 3X. To solve this, make sure not to use the device. It is suggested to turn off the device and let it cool down.


How To Load The GO Plus:
To start dabbing, fill the glass bubbler with water. It is recommended to serve only a third of the bubbler. Ensure not to overfill past the line marked maximum line. Next, screw in the heating chamber clockwise onto the base. Then, magnetically attach the glass bubbler to the base. After, select your desired temperature and timer settings to start your dabs. When you have adjusted to your liking, the device will beep, and you can now enjoy a toke!

How To Clean:
After a dab session, it is always advised to clean your device! First, you should clean the chamber by unscrewing it from the base. Then, use a cotton swab soaked with alcohol and gently remove any dirt or residue.
To clean the bubbler, remove it from the base and pour isopropyl alcohol into the mouthpiece until the unit is ¼ complete. Next, rinse the alcohol out and pour water into the mouthpiece until all the alcohol has been flushed out. To remove water from the bubbler, blow through the mouthpiece and shake gently.
When cleaning the base, make sure to clean the screw connection with an alcohol-soaked cotton swab. Then, allow it to dry thoroughly before re-attaching the heating chamber.

What’s Included:
- (1) Exxus GO Plus Base
- (1) Glass Percolator
- (1) Silicone Tether
- (1) Glass Carb Cap
- (1) Coil-less Quartz Chamber
- (1) Packing Tool
- (1) Type-C Charging Cable
WARNING: Do not charge with a powerbank of 5V or higher. Do not charge in your car. Do not overcharge or use any other charging cable other than what comes with your battery. Failure to follow these instructions could result in battery damage and frying of the internal system.
Specifications
Specifications
Secure, Easy Payments
Your payment information is processed securely. We do not store credit card details nor have access to your credit card information.
FAQ about Exxus Vape Go Plus Concentrate Vaporizer
Returns and Refunds
How do I return a product?
How do I return a product?
Items must be returned within 30 days after receiving your order. Items must be returned in the same condition in which they were received, be unworn/unused, have any tags still attached, and include all the original packaging.
How long will it take to receive my refund?
How long will it take to receive my refund?
Refunds are processed within 7 days from when we receive the item(s).


 Sold by Exxus Vape


