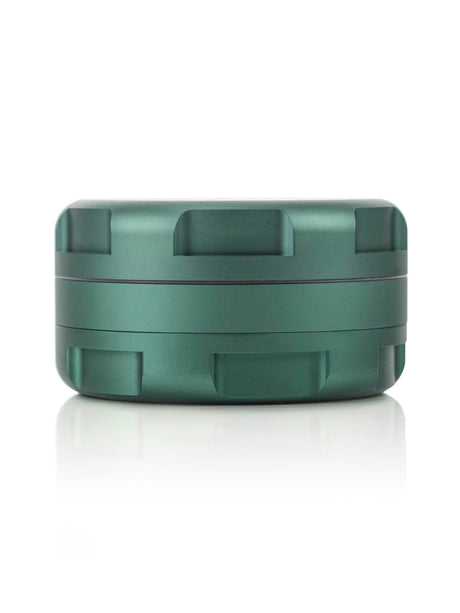
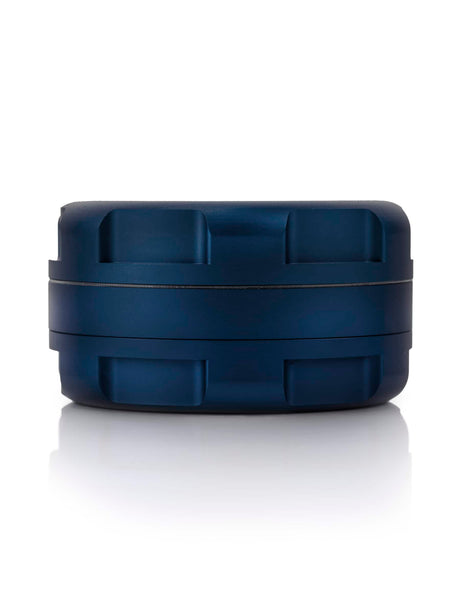
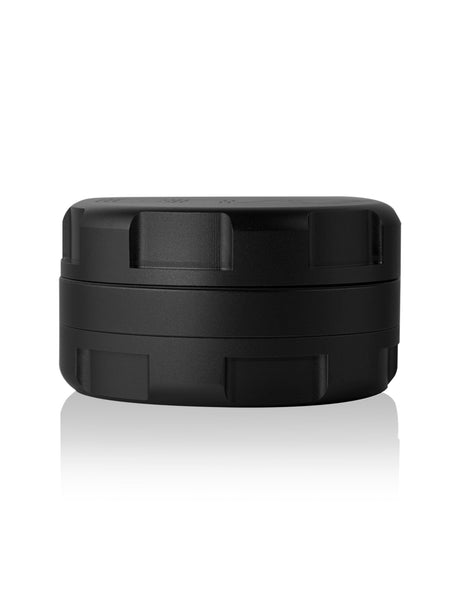
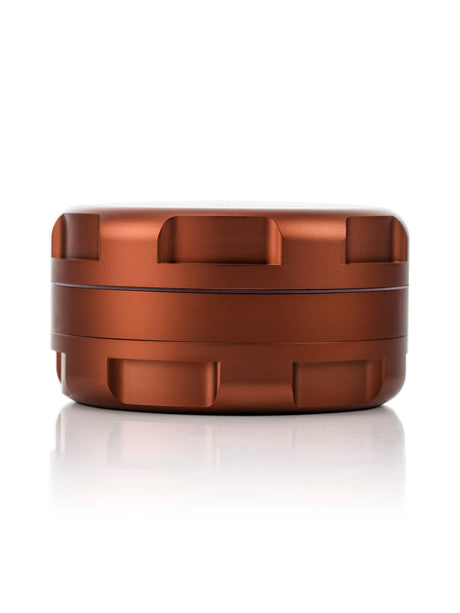
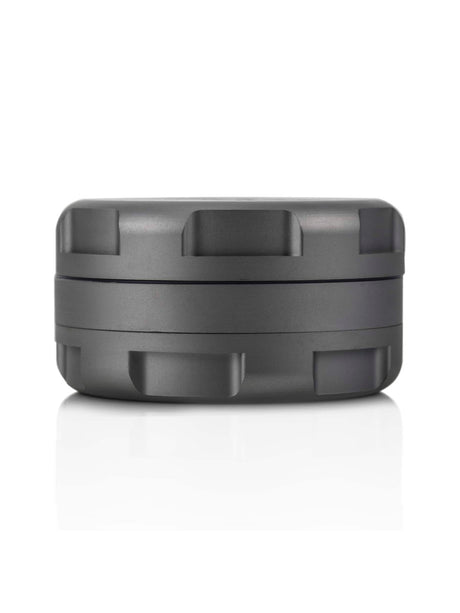
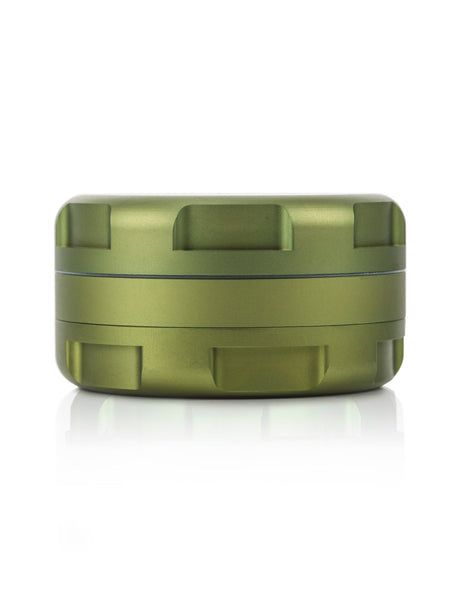
That mid-sesh moment when your grinder won't budge is seriously annoying. If you're asking why is my grinder stuck, the usual answer is simple: sticky resin, packed teeth, cross-threading, or a little too much force at the wrong angle. The good news? Most weed grinders can be freed without sacrificing the piece or your fingers.
Before you reach for a knife, pliers, or superhero-level wrist strength, take a breath. Forcing a jammed grinder can strip threads, bend teeth, crack acrylic, or send freshly ground herb across the room. A few smart moves are usually all it takes.
Quick Fix: Why's My Grinder Stuck and What to Do Right Now
If you're having a grinder emergency right now, here are some quick fixes that might help.
| What's Stuck? | Likely Culprit | Immediate Fix |
|---|---|---|
| Top Lid Won't Spin | Dirty nylon glide ring or resin on the lip | Scrape the glide ring with a toothpick, tap the rim, or freeze for 20 min. |
| Lid Won't Sit Flush | Trapped flower in teeth or loose center magnet | Clear compacted herb with a toothpick; check if the center magnet shifted. |
| Middle Chamber Won't Unscrew | Sticky resin in the threads | Wrap thick rubber bands around each piece for grip; use the freezer trick. |
| Chamber is Tilted and Locked | Cross-threaded metal | Tap high side gently with a wooden spoon handle; back out counter-clockwise. |
Why Is My Grinder Stuck in the First Place?
Cannabis flower contains trichomes, which are packed with sticky resin. That resin is great when it's in your bowl, joint, or vape, but it becomes a problem when it builds up around a grinder's teeth, rim, and threads. Over time, that sticky layer grabs tiny bits of plant material and turns into a dense, glue-like ring.
A stuck grinder isn't always caused by resin buildup, though:
- Cross-Threading: Threaded metal grinders can seize hard when they're closed at an angle, especially if the threads were already dirty.
- The Missing or Sticky Glide Ring: Most metal grinders use a thin plastic or Teflon O-ring right under the lid to keep metal from scraping against metal. If that ring gets coated in sticky residue, stretches, or falls off, the lid will fight you on every rotation.
- Loose or Flipped Center Magnets: If you've ever banged your grinder on a table to knock flower loose, you might have dislodged the center neodymium magnet. If that magnet shifts upward or pops loose, it will physically block the lid from closing or wedge it shut.
- Overfilling: Cramming massive nugs into the teeth leaves no room for herb to move, locking the chamber before you even make a full turn.
Start With the Safest Fixes for a Jammed Grinder
First, figure out which section is actually stuck. Try to turn the lid, the grinding chamber, and the lower catch chamber separately. Hold the grinder with a dry towel for better grip and use steady, even pressure. Don't twist one side while pulling the other at a weird angle, because that's how threads get stripped.
If it feels like resin is the culprit, gently tap the outside edge of the grinder against your palm or a wooden cutting board. A few light taps can dislodge loose bits trapped in the rim. You can also use a soft toothbrush or a wooden toothpick to clear visible plant matter around the seam.
Check the Nylon Glide Ring
If your top lid refuses to spin smoothly even when it isn't full, look closely at the rim where the lid meets the body. There should be a thin, slick plastic ring seated there. If it's covered in black gunk, scrape it clean with a wooden toothpick. If it's warped, stretched, or missing entirely, you're grinding raw metal against metal.
Just keep this ring away from isopropyl alcohol when cleaning. Alcohol can make thin plastic warp and curl, which ruins the smooth glide permanently.
Check the Center Magnet
If the lid wobbles, refuses to sit flush, or feels wedged at the center post, inspect the magnets. Sometimes compressed flower gets packed directly over the center post, preventing the lid from dropping down.
If the post is clean but the lid won't seat, check if either magnet has slipped out of its pocket. A loose magnet can shift sideways and lock the lid. If it popped loose, clean the pocket with a dry swab, make sure the polarity is facing the right way (so the magnets attract rather than push away), and seat it back in place with a tiny drop of superglue, keeping glue completely clear of the herb path.
Add Grip, Not Brute Force
Sometimes the grinder isn't truly seized. It's just too slippery to get a secure hold.
Never use metal pliers directly on your grinder. Metal teeth will chew up the finish and squeeze the circular chambers out of shape. Instead, wrap two thick rubber bands around each stubborn section, or use silicone jar-opening pads. Rubber gives you pure traction, letting you apply steady, controlled torque with your hands without warping the metal.
If it doesn't move after a few tries, stop. More force isn't the answer, and it can turn a simple fix into a broken piece.
Use the Freezer Trick for Sticky Resin
For a metal grinder, the freezer is one of the easiest low-effort fixes. Put the closed grinder in the freezer for 20 to 30 minutes. Cold temperatures make plant resin brittle and less tacky, so the stuck pieces are much more likely to break free.
Once you take it out, give the rim a couple of light taps on a cutting board to crack the frozen resin inside the threads. Wrap the grinder in a towel for grip and give it a firm, steady twist.
If it opens, use a small brush or wooden toothpick to brush away the hardened residue before it warms back up. Avoid using metal tools around the teeth and threads if you can, since scratches create more places for resin to collect later.
Note: The freezer trick works best for aluminum and stainless steel. Skip it for cheap plastic or acrylic models, since freezing cold makes budget plastic brittle and prone to cracking.
What to Do If It's Cross-Threaded
If one side of the seam is sitting higher than the other, your threads skipped a groove and bound together. Forcing it forward will friction-weld the aluminum threads and ruin the grinder permanently.
- Spot the high side: Hold the grinder at eye level to see which side is tilted up.
- The spoon tap: Take the wooden handle of a kitchen spoon and tap gently straight down on that high edge. The light vibrations help bounce the thread back into track.
- The oil wick (if it's really wedged): If it won't budge, place a single drop of food-grade mineral oil or organic hemp seed oil right on the bound seam. Let it sit for 10 minutes so capillary action pulls the oil between the dry threads. Never use WD-40 or garage lubricants here, since those fumes are toxic to inhale.
- The reverse twist: Wrap rubber bands around the pieces for grip and turn slowly backward (counter-clockwise). Keep turning backward until you feel a slight click. That click means the threads have dropped back into alignment, and you can back it off cleanly.
When a Deep Clean Is the Right Move
If your grinder keeps sticking after the freezer and brush treatment, it probably needs a proper clean. Take it apart only as far as it will go without forcing it. Once open, remove all loose herb and pollen with a dry brush first so you can save anything you want to keep before introducing liquids.
For most metal grinders, soaking removable metal pieces in high-percentage isopropyl alcohol will dissolve heavy resin. After a short soak of 15 to 20 minutes, scrub the teeth, threads, and inner rim with a brush or cotton swab. Rinse thoroughly with warm water, and let every single part dry completely before putting it back together. Trapped moisture inside threads creates sticking almost immediately.
Keep alcohol far away from wood grinders, acrylic models, or painted finishes. Alcohol can cloud plastic, strip protective oils from wood, and weaken adhesives. For those materials, stick to warm soapy water, a soft cloth, and dry brushing.
If your grinder has a kief screen, clean it gently. Aggressive scraping can tear or warp the mesh, which ruins the whole point of a multi-chamber setup. A soft-bristled brush soaked in alcohol dabbed lightly against the screen beats a hard scrape every time.
A Quick Safety Check: Watch for Metal Shavings
Here's one thing smokers often overlook: when metal threads cross or teeth grind hard against each other, friction can shave off tiny metal burrs.
After freeing a badly jammed metal grinder, dump the flower out onto a clean sheet of white paper under a bright light. Look closely. If you see any gray streaks or shiny metallic specks, do not smoke that material. Inhaling metal dust is bad news for your lungs. Toss the tainted flower, wipe the chambers clean, and make sure the teeth spin clear before packing fresh herb.
How to Keep Your Grinder From Getting Stuck Again
A grinder that gets cleaned occasionally will grind more smoothly, collect better, and last much longer. You don't need to scrub it after every single session, but a quick brush-out after a few uses prevents the kind of buildup that causes jams.
- Don't overpack the chamber: Load enough flower for the teeth to catch, but leave some breathing room. If you have sticky, dense buds, tear them into pea-sized bits by hand first rather than jamming a whole nug onto the center magnet.
- The reverse-click trick: When screwing threaded sections together, place them flush and turn backward (counter-clockwise) until you feel the threads drop into place with a subtle click. Then screw it forward. If you feel resistance right away, stop and reset.
- Keep the outer rim wiped: Every few sessions, take five seconds to wipe the outer lip with a towel to pick up fresh resin before it hardens into glue.
When It's Time to Replace a Stuck Grinder
Not every grinder is worth saving. If the teeth are bent, the threads are stripped bare, the center magnet has chipped or come loose, or the screen is torn, replacement is usually the better move. A grinder that closes unevenly will just keep jamming and shed debris into your herb.
Upgrading to cleanly machined hardware makes a world of difference:
- Keep things classic and pocket-friendly with simple 2-piece grinders.
- Get everyday storage without extra bulk using 3-piece grinders.
- Save every speck of pollen with multi-chamber 4-piece grinders.
- Skip the wrist strain entirely with motorized electric grinders or smooth hand crank and mill grinders.
A stuck grinder is usually just a maintenance signal, not a total disaster. Free it gently, clean off the buildup before it turns into cement, and give your flower a little room to breathe. Your wrists and your next sesh will be much better for it.