Nothing kills the vibe faster than a grinder that feels glued shut. If you're wondering how to clean a grinder without wrecking the finish, wasting kief, or turning a quick maintenance job into a whole project, the good news is this is easier than most people think. A little routine care keeps your grinder spinning smoothly, your herb fluffier, and your sesh a lot less annoying.
Why cleaning your grinder actually matters
A dirty grinder is more than a cosmetic problem. Sticky buildup makes the teeth drag, the threads gum up, and the screen stop doing its job. That means chunkier grinds, harder turns, and less airflow when you're packing a bowl, rolling up, or loading a vape.
There's also the flavor issue. Old resin and trapped plant matter can make fresh flower taste stale. If you paid for good herb, a funky grinder is a pretty weak way to treat it.
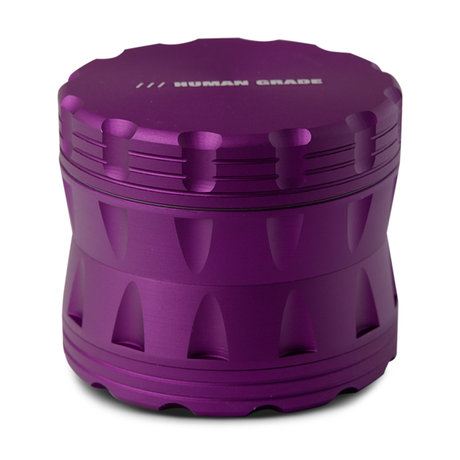
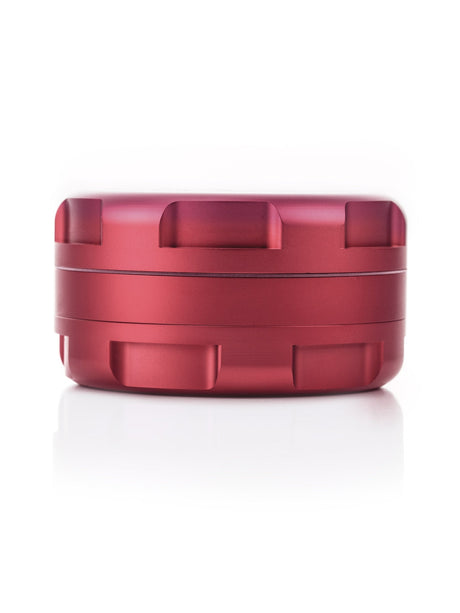
The catch is that not every grinder should be cleaned the exact same way. Metal grinders can usually handle a deeper clean. Acrylic grinders need a gentler touch. Wood grinders are their own lane entirely. So the best method depends on what you're working with and how dirty it is.
How to clean a grinder without making a mess
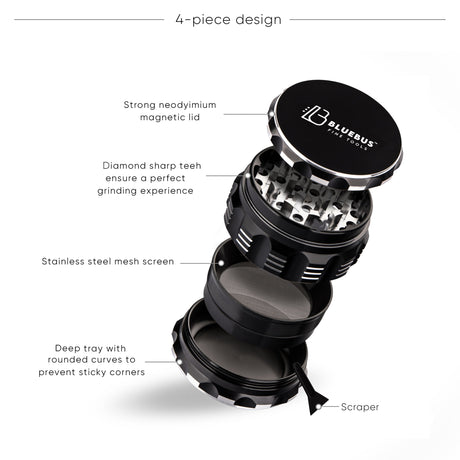
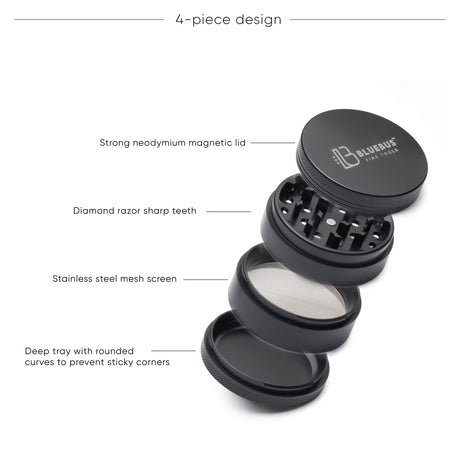
Before you start scrubbing, take the grinder apart completely. Separate the lid, grinding chamber, storage section, and kief catcher if it has one. Work over a tray, plate, or clean sheet of paper so you don't lose any loose material.
Use a small brush first. A soft toothbrush, makeup brush, or dedicated grinder brush works well for knocking out dry bits stuck between the teeth and around the screen. Sometimes that's enough if the grinder is only lightly used.
If the grinder is sticky, put the pieces in the freezer for 20 to 30 minutes. Cold temperatures make resin and plant residue more brittle, so it's easier to flake off without smearing it around. After freezing, tap the pieces gently and brush again. You'll usually get way more buildup off this way than if you go straight in with liquid.
For a lot of people, this is the sweet spot. You preserve the grinder, collect any salvageable kief, and avoid over-cleaning parts that don't really need a soak.
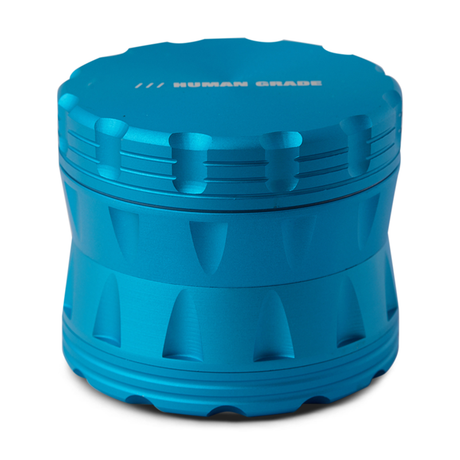
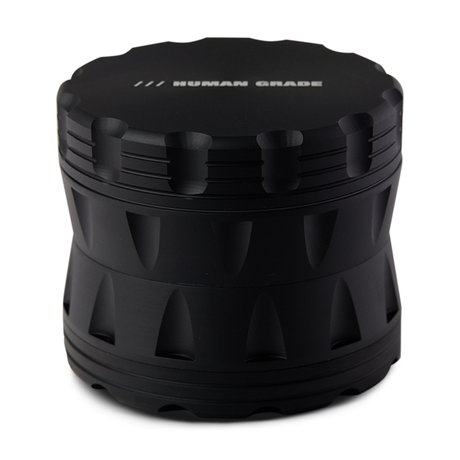
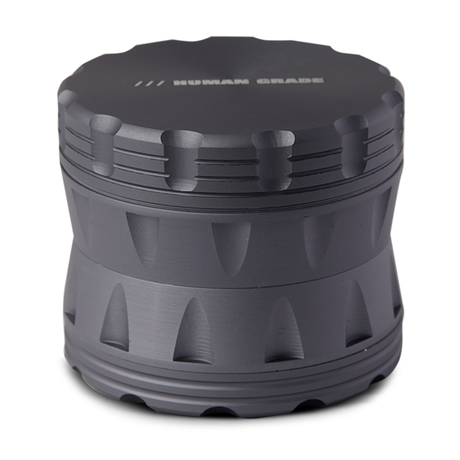
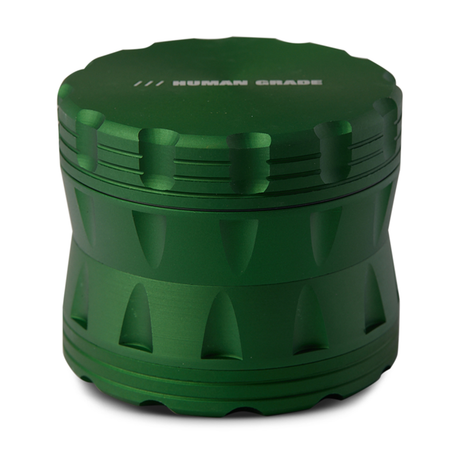
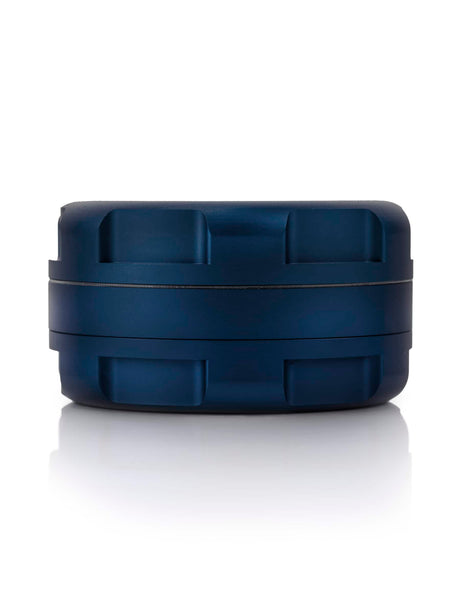
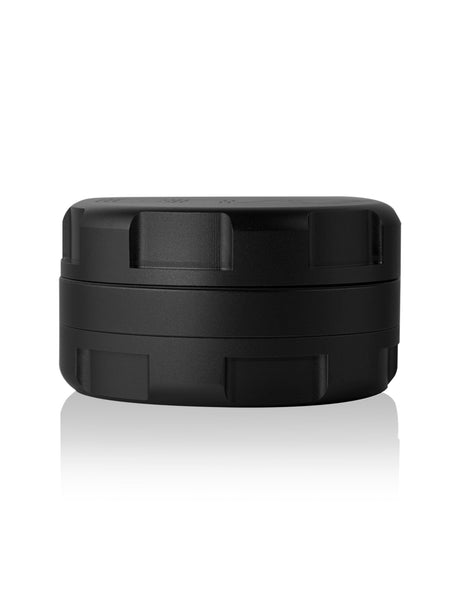
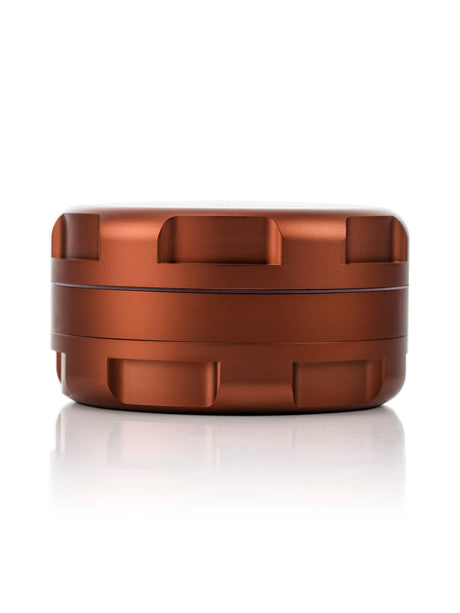
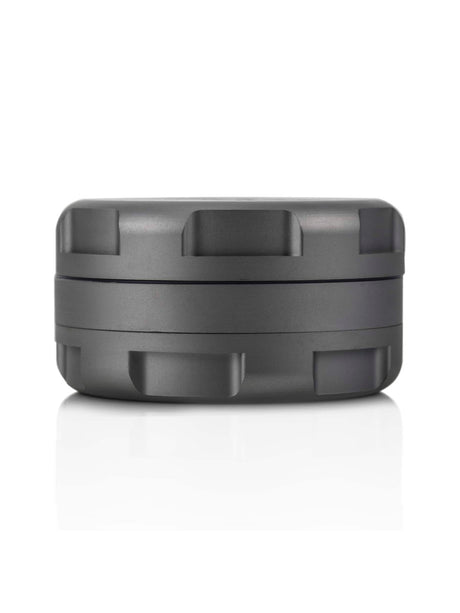
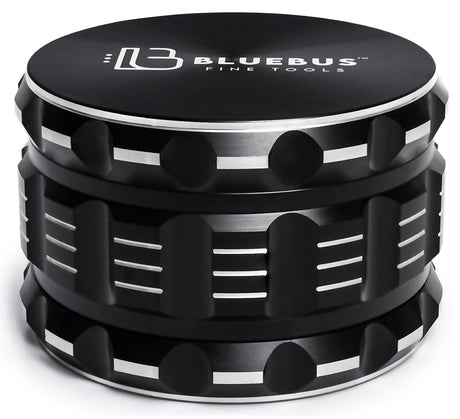
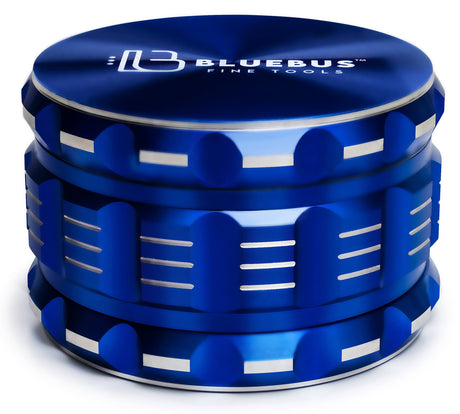
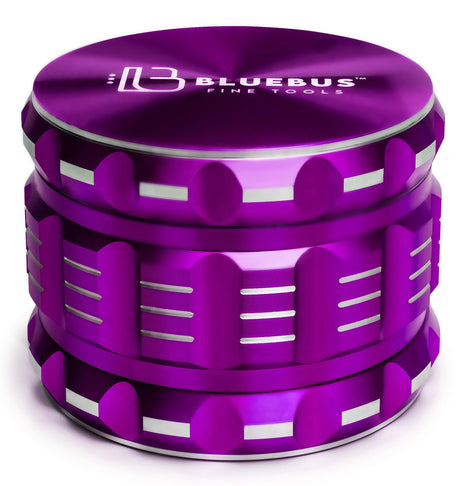
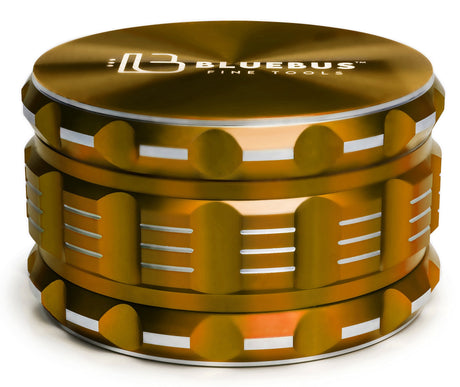
The best way to clean a metal grinder
Metal grinders are the easiest to deep clean, especially aluminum models with no electronic parts. If brushing and freezing don't cut it, isopropyl alcohol is the go-to move.
Place the grinder pieces in a container or resealable bag with enough isopropyl alcohol to cover them. A 90% or higher concentration works fastest, but lower concentrations can still help if you're patient. Let the parts soak for around 15 to 30 minutes, depending on how caked they are.
After soaking, use a cotton swab, soft brush, or pipe cleaner to work through the teeth, threading, and screen edges. Most of the residue should come off pretty easily. If the screen is especially clogged, don't jab at it aggressively. Gentle brushing is better than tearing the mesh.
Once the residue is gone, rinse every part thoroughly with warm water and let it dry completely. Completely means completely. Any leftover moisture can affect your next grind and make fresh material clump.
One thing to watch out for is painted or anodized finishes. Most quality metal grinders hold up fine, but repeated harsh soaking can wear down decorative coatings over time. If your grinder has a premium finish or printed design, keep the soak shorter and stick to spot cleaning when possible.
How to clean an acrylic grinder
Acrylic grinders are cheaper and beginner-friendly, but they're also less forgiving. Strong solvents can cloud, crack, or weaken the plastic, so alcohol is not always your best bet.
Start with the freezer trick and a brush. For light to moderate buildup, that usually gets the job done. If it still feels sticky, wash the grinder gently in warm water with a small amount of mild dish soap. Use a soft toothbrush to loosen residue, then rinse well.
Skip very hot water, rough scrub pads, and long alcohol soaks. Those can shorten the life of the grinder fast. Acrylic is great for affordability and casual use, but it's not built for the same kind of heavy cleaning abuse as metal.
If your acrylic grinder is deeply gummed up and still not turning right after a careful wash, replacement may honestly make more sense than trying increasingly aggressive methods. That's one of the trade-offs with budget gear.
What about wooden grinders?
Wooden grinders look great and have a different feel in hand, but they need the most restraint. Soaking wood is a bad idea. Too much moisture can warp it, and alcohol can strip the finish or dry the wood out.
For these, stick with dry cleaning as much as possible. Use a brush, a wooden pick, or a cotton swab to remove buildup. If needed, a very lightly damp cloth can help with surface grime, but don't saturate anything. Let the grinder air dry fully before putting it back together.
If the teeth or interior are getting heavily coated all the time, clean it more often with lighter maintenance instead of waiting for a deep-clean emergency.
How to clean a grinder screen without wrecking it
The screen is the part people destroy most often. It clogs easily, especially with sticky flower, and it's tempting to attack it with a paper clip or knife. Bad move.
If you're trying to figure out how to clean a grinder screen safely, patience wins. Start by freezing the grinder and brushing the underside and top side of the screen with a soft brush. That often clears enough blocked material to get airflow and separation working again.
If it's still clogged and the screen is metal, use a cotton swab lightly dampened with isopropyl alcohol and dab rather than scrub. You want to dissolve residue, not stretch or puncture the mesh. Then rinse and dry the piece thoroughly.
A screen doesn't have to look brand new to work well. If it's mostly clear and material can pass through normally, you're good.
A few common cleaning mistakes
The biggest mistake is using metal tools to scrape everything clean. That can scratch the grinder, damage the teeth, and tear the screen. Another common one is reassembling the grinder before it's dry. That creates sticking all over again almost immediately.
People also tend to over-clean. If your grinder still turns smoothly and the teeth are clear, you may not need a full alcohol soak. Regular brushing between deeper cleans usually keeps things in a much better place.
And if your grinder has any special features like a nonstick coating, removable screen, or unusual material blend, check the maker's care instructions. Not every grinder is built the same, and a method that works on a basic aluminum four-piece might be wrong for a novelty model or hybrid design.
How often should you clean your grinder?
That depends on how often you grind and what kind of flower you use. Dense, sticky buds create buildup much faster than drier material. Daily smokers might want to brush out the grinder every few sessions and do a deeper clean every few weeks. More casual users can usually stretch that timeline.
A good rule is simple: clean it when performance drops, not just when it looks dirty. If the lid sticks, the grind gets uneven, or the screen stops catching much of anything, it's time.
You can also make life easier by not overpacking the grinder. Stuffing too much herb in at once creates more friction and more resin transfer. Smaller loads grind more evenly and leave less mess behind.
Keeping your grinder cleaner between deep cleans
A quick brush-out after a sesh goes a long way. It takes maybe 30 seconds and prevents that thick layer of buildup from setting up camp in the teeth and threads. Storing your grinder in a cool, dry spot helps too, especially if your flower tends to be extra sticky.
If your current grinder constantly jams, sheds material, or feels rough even when it's clean, it may just be time for an upgrade. Better grinders usually have sharper teeth, smoother threading, and screens that don't clog as easily, which makes everyday use way less frustrating.
A clean grinder is one of those tiny upgrades that makes your whole routine feel better. Better grind, better flavor, less fighting with your gear. Give it a few minutes now, and your next sesh will feel a lot smoother.